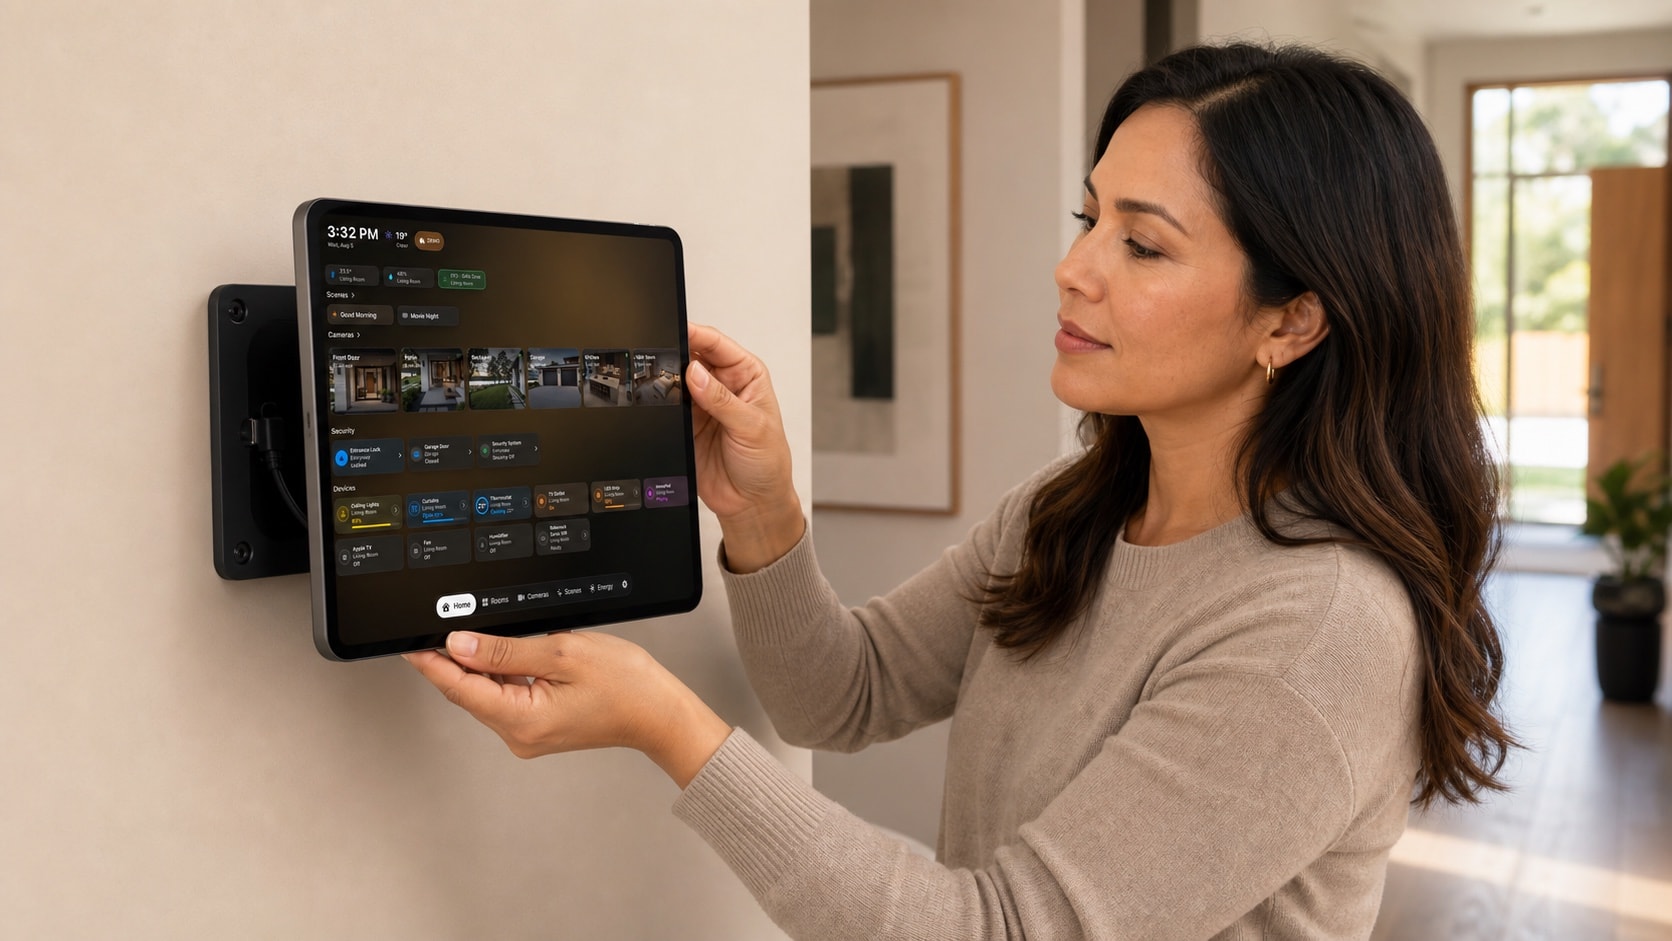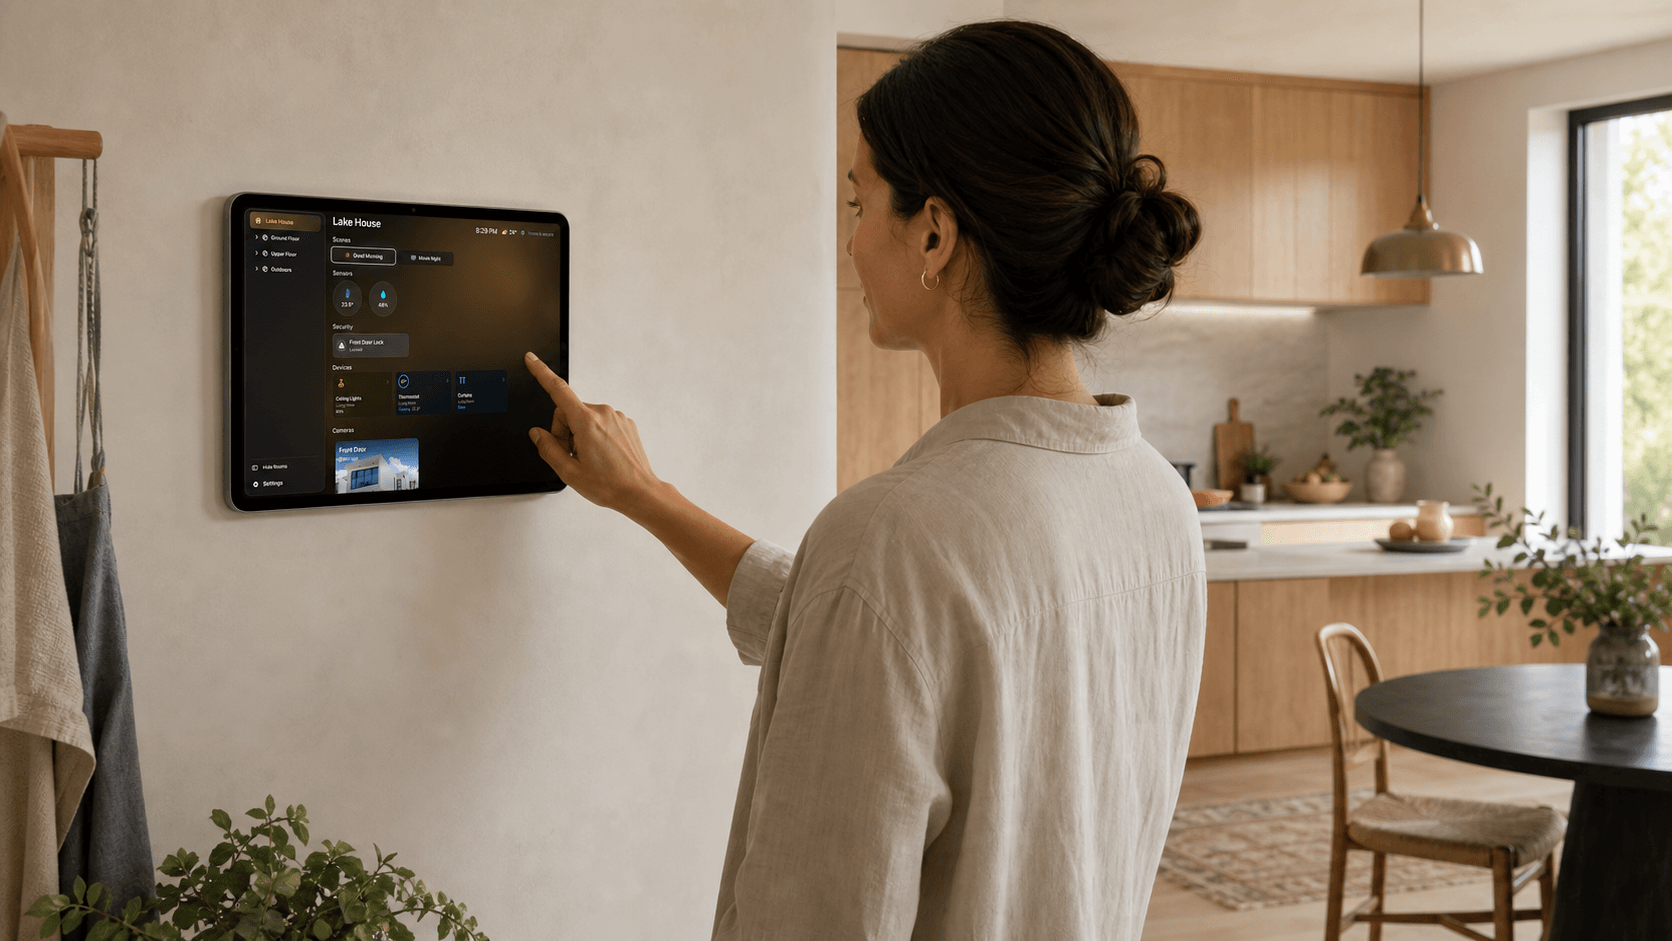
1. Prove the dashboard on a stand first
Use the intended app, calendars, HomeKit accessories, cameras, and Wi-Fi in the target room for several days. A removable stand exposes problems without making the installation permanent.
- Confirm the most-used controls fit on the first screen
- Check camera loading and Wi-Fi stability
- Test calendar readability from the normal viewing distance
- Make sure every household member understands the layout
2. Choose placement for reach, glare, and privacy
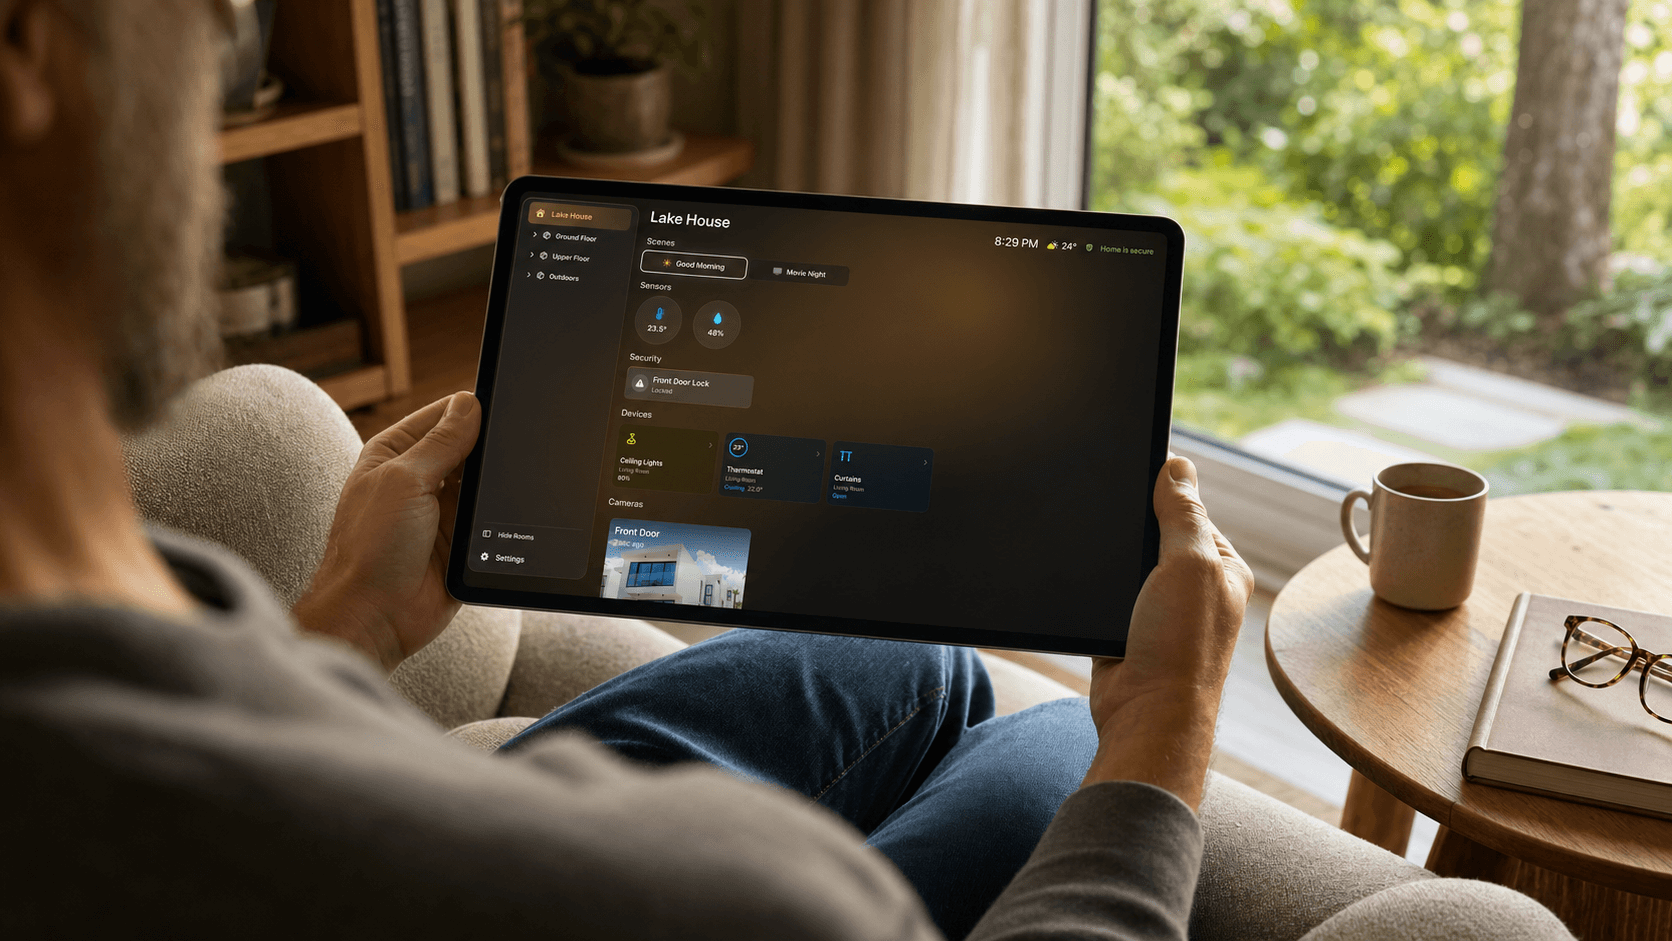
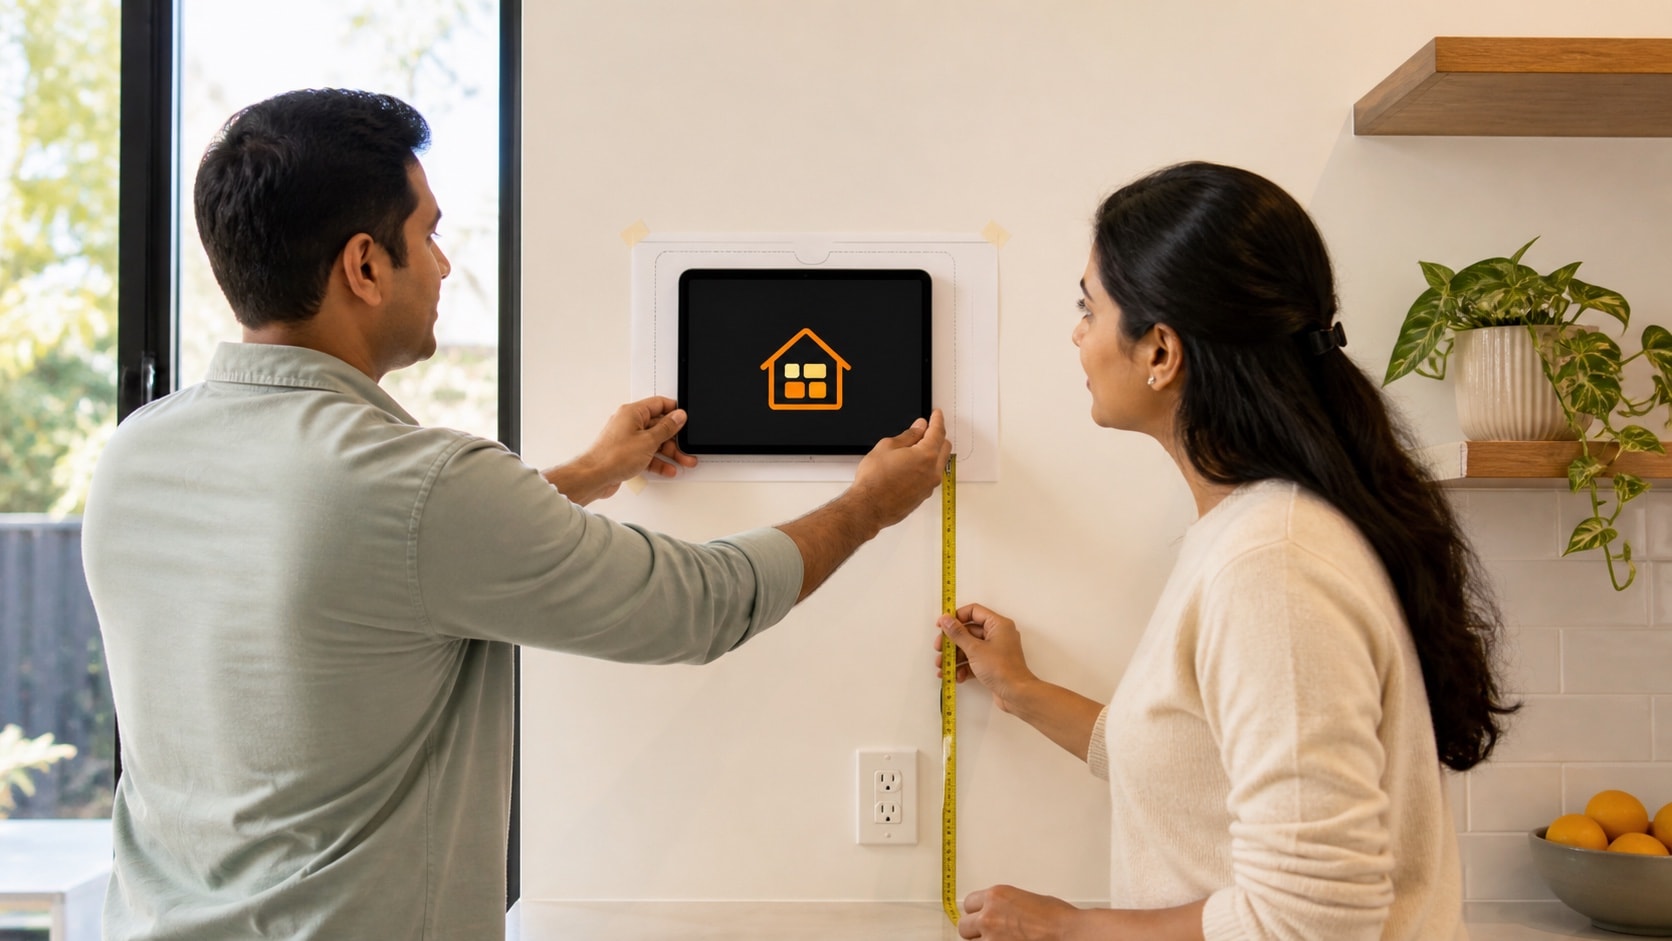
Place the centre of the display near a comfortable standing or seated sight line for the room. Avoid a location where a door, appliance, or cabinet blocks access. Check direct sunlight and reflections at different times of day.
Treat the viewing angle as a privacy decision. A calendar or camera that is appropriate inside the kitchen may not be appropriate when visible through an exterior window or from a shared corridor.
3. Plan safe, serviceable power
Use a compatible adapter, cable, and mount designed for the specific iPad. Keep connectors free from strain and heat, and make sure the device can be removed without dismantling the wall. Electrical work inside a wall should be handled according to local rules by a qualified person.
Do not bury an ordinary extension lead or loose power adapter inside a wall. Leave a documented way to disconnect power and inspect the cable.
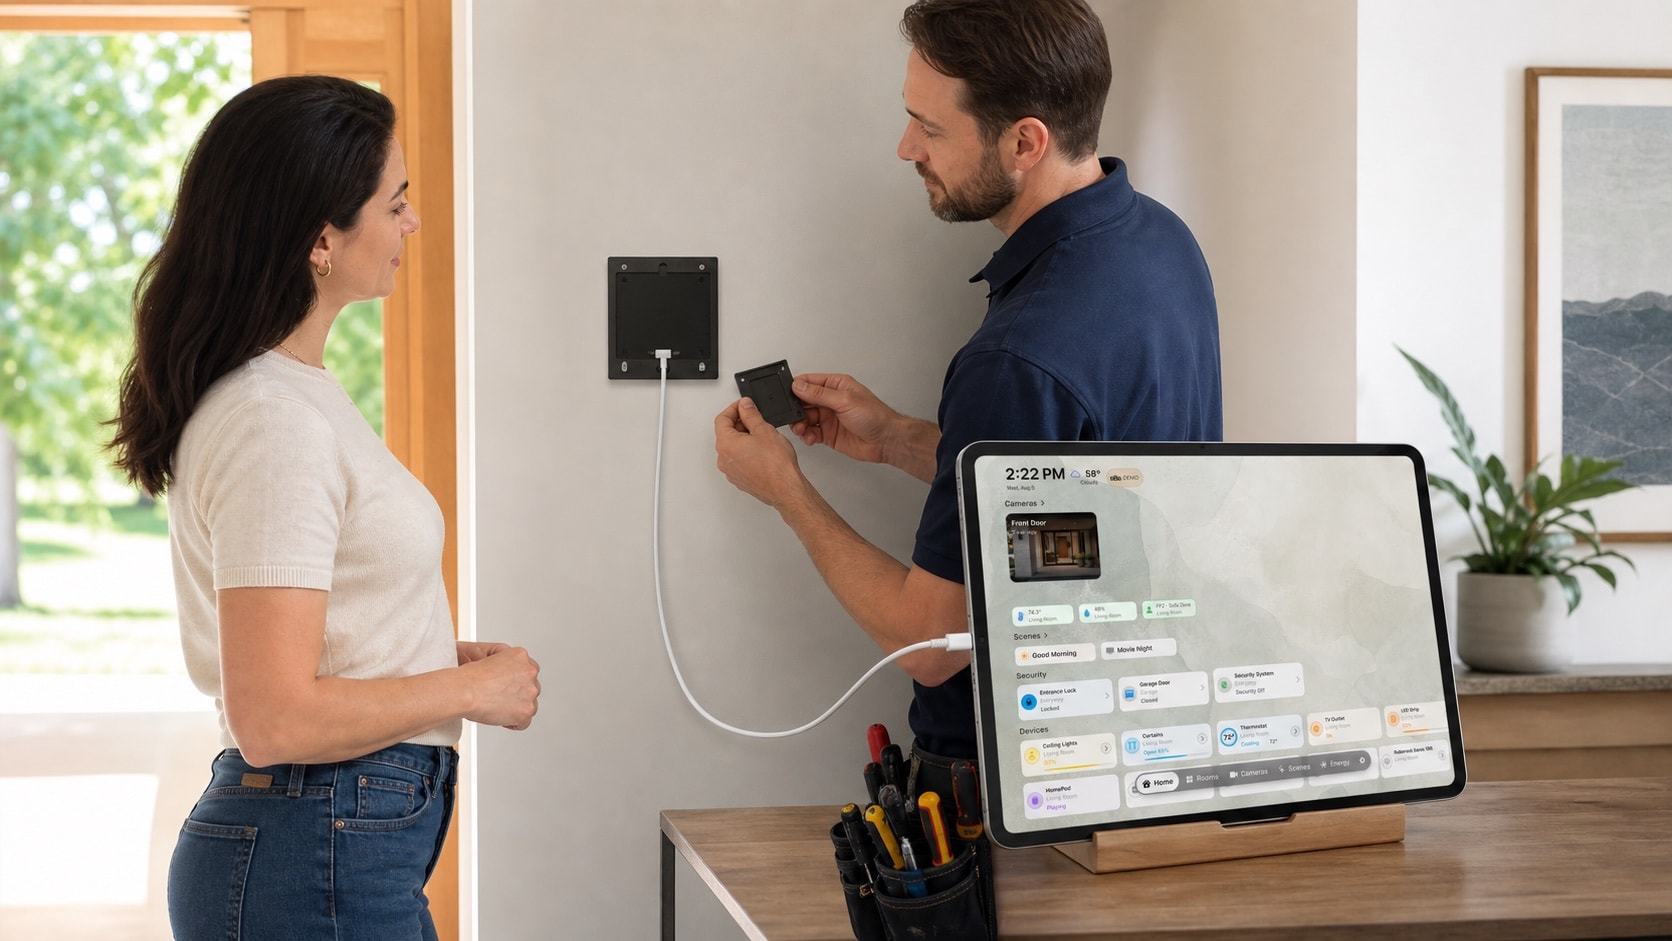
4. Configure the shared-device behaviour
Decide whether the iPad remains a general family device or stays in one dashboard app. Apple Guided Access can temporarily restrict iPad to a single app and control available buttons, touch areas, and display auto-lock behaviour.
Set an exit method that a responsible household member knows. Also plan how the device will receive updates and how you will recover it after a network, account, or app problem.
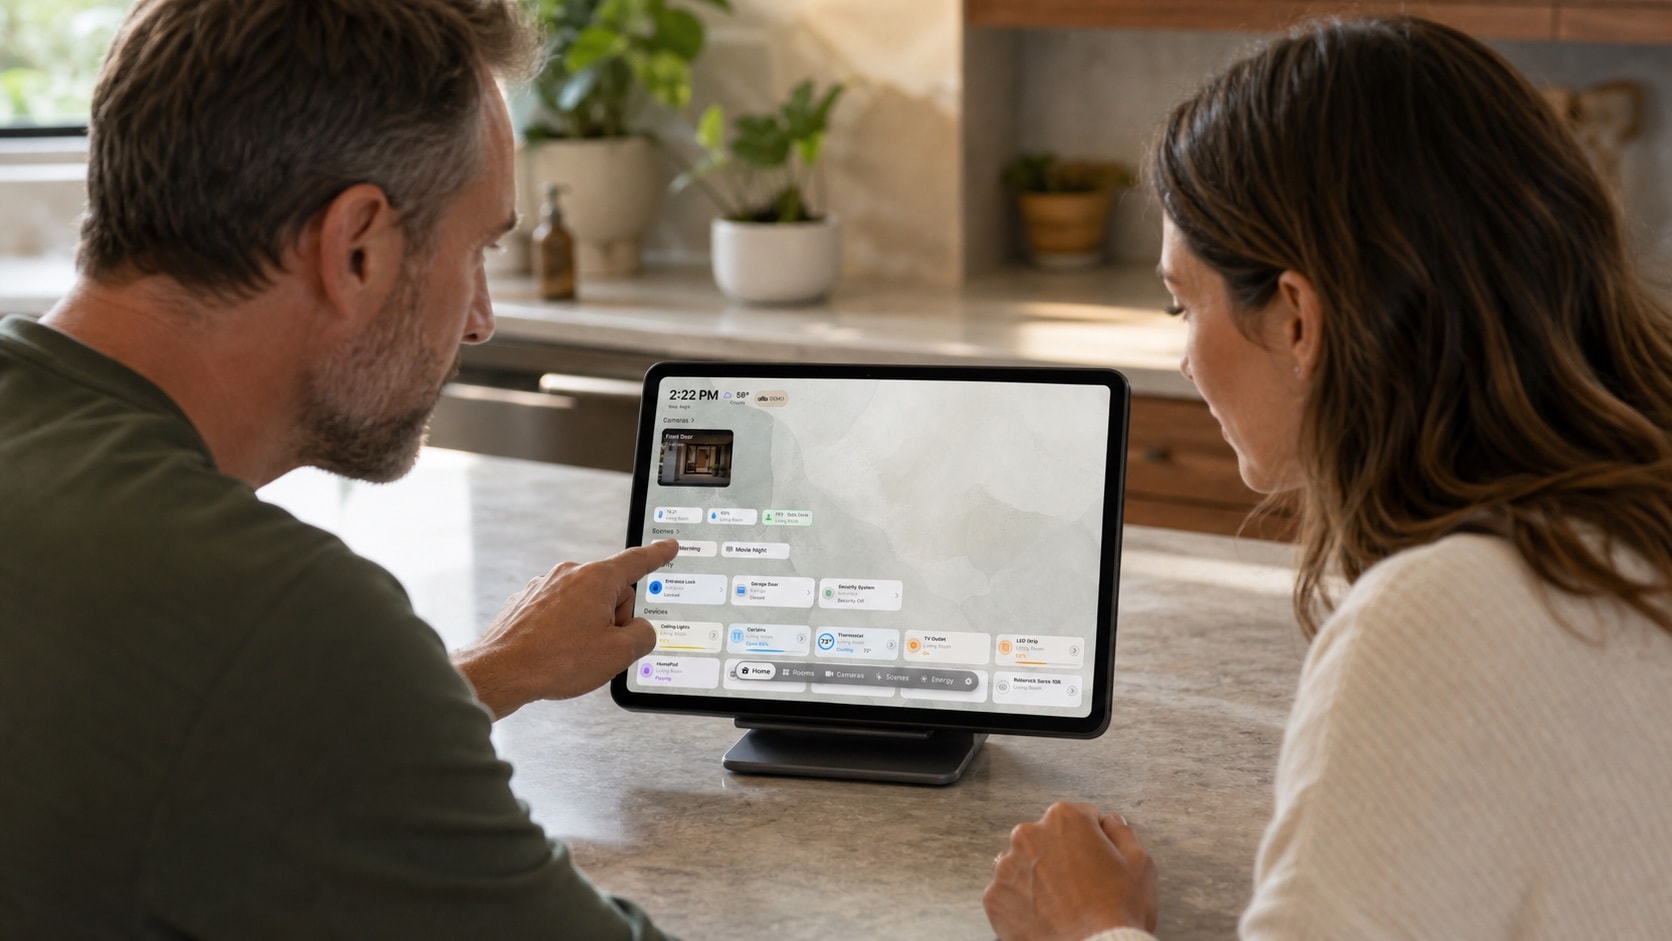
5. Review Apple Home and calendar permissions
Use a suitable Apple Account and grant only the home, calendar, location, music, camera, and notification access required for the dashboard. Confirm that private calendars are not selected by accident.
Open every important room, scene, camera, and calendar once before mounting. Permission prompts are easier to understand and resolve while the iPad is in your hands.
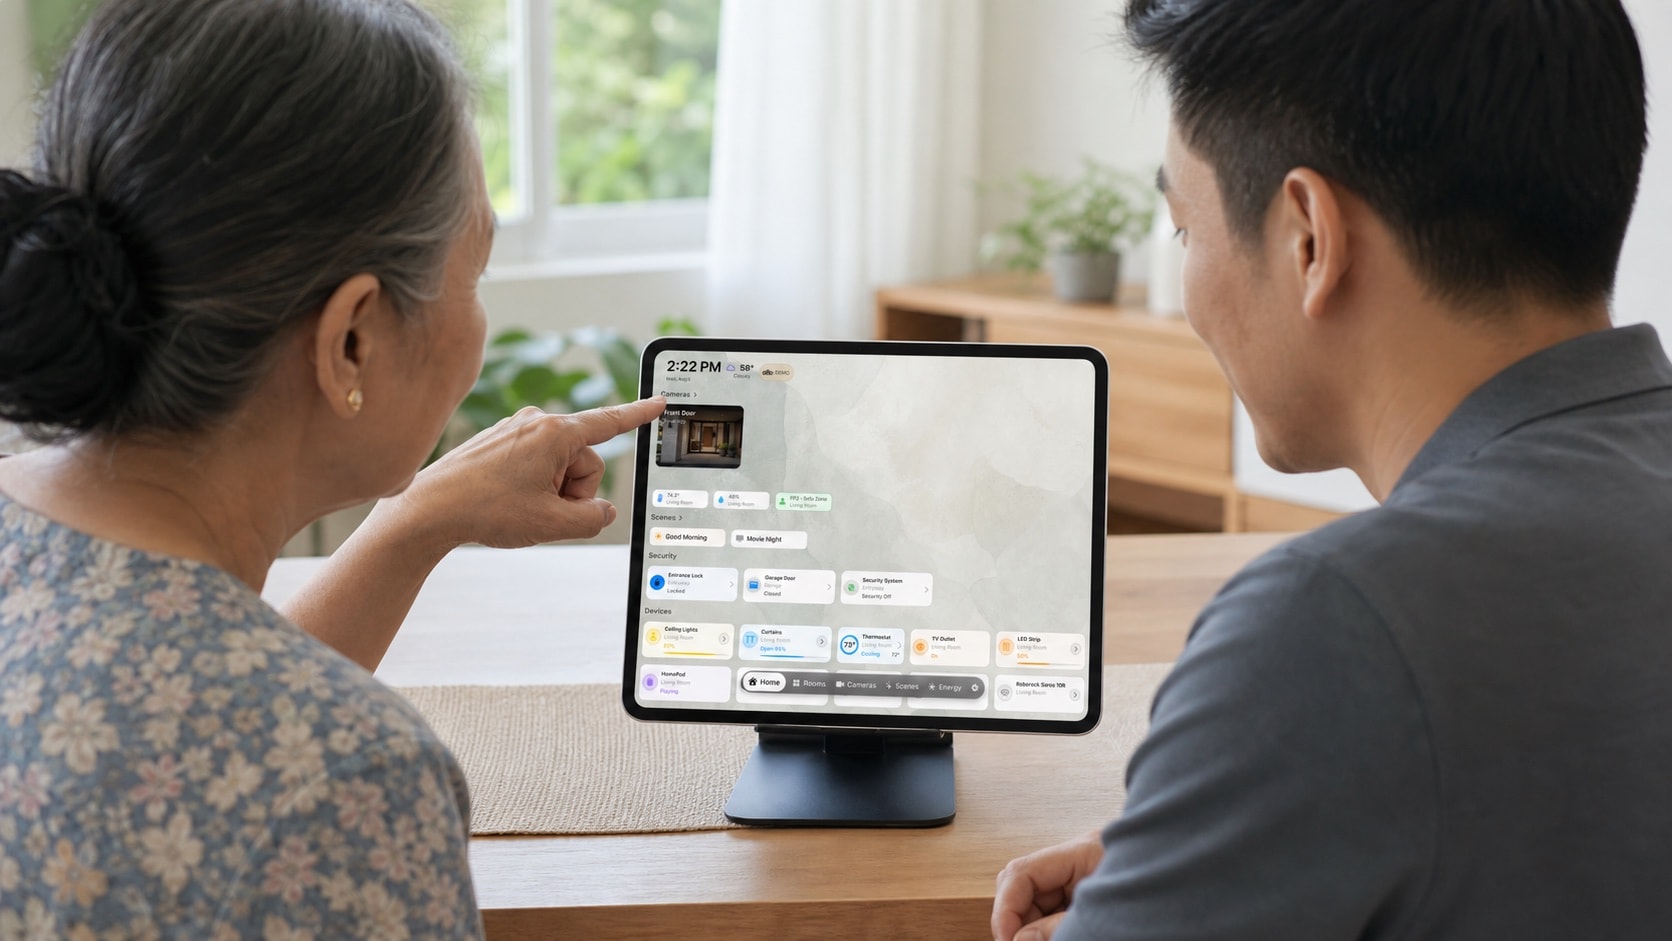
6. Create a maintenance and recovery checklist
A mounted iPad is still a computer. Schedule occasional checks for software updates, cable wear, battery or heat warnings, Wi-Fi reliability, and stale calendar or Home access.
- The mount remains secure
- The cable and connector show no damage
- The iPad is not unusually warm
- Home and calendar data still refresh
- Someone knows how to exit the dedicated mode
- The device can be removed for service